

We are continuing our series on how to get more automated within Xero. Earlier this month, in Part One, we discussed how to use repeating invoices. This week, we will focus on how you can use Xero’s default settings to save you even more time!
Xero’s Default Settings
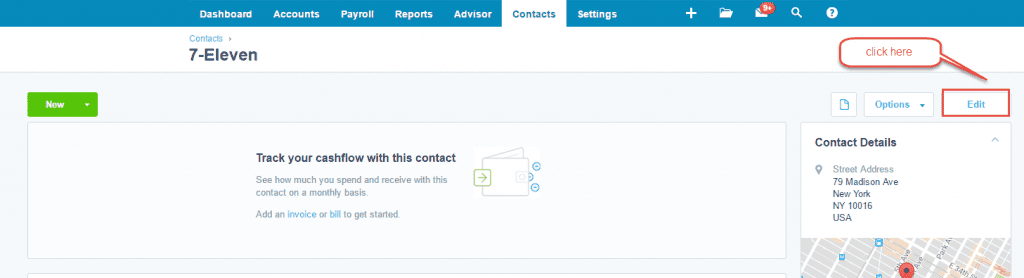
When we talk about default settings, we are specifically talking about the settings within a contact. You can access these settings by going to Contacts>All Contacts >[Choose contact]>Edit (in the right-hand corner). In this example, we are editing the contact for 7-Eleven.
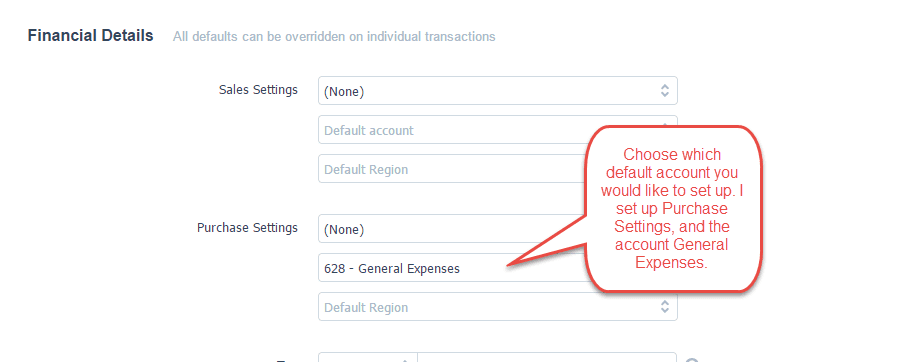
Scroll down to Financial Details and choose a default account for either Sales Settings or Purchase Settings (or both!). Be sure and click on Save.
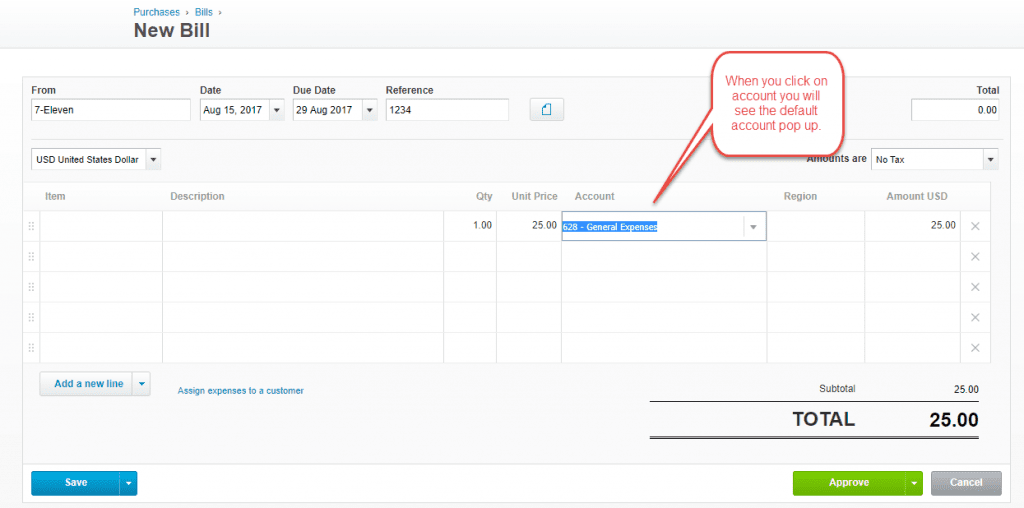
Let’s take a look at how this will save you time. If you were to create a bill and you used a contact that had default settings it makes it very easy! All you have to do is click on the Account field and Xero will fill in your default settings.
It’s a great idea to use the default settings for contacts you use often. We hope that you are enjoying our automation series as we share ways to save you time and be more automated. Stay tuned for the third article of this series coming next week.