
We love how Xero lets you customize so many things. Did you know that you can edit your dashboard in Xero? We think customizing your dashboard is a great feature! Today we will show you the steps to customize your dashboard.
1. Navigate to your Xero Dashboard.
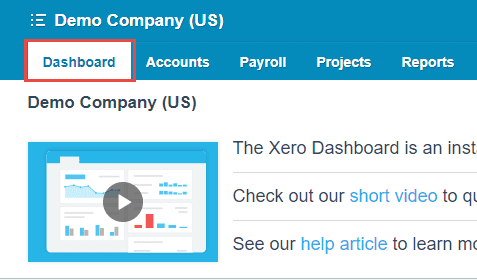
If you login to your Xero account directly, the Dashboard should be the first page that appears on your screen. If you working elsewhere in your Xero account, simply click on the Dashboard menu to access it.
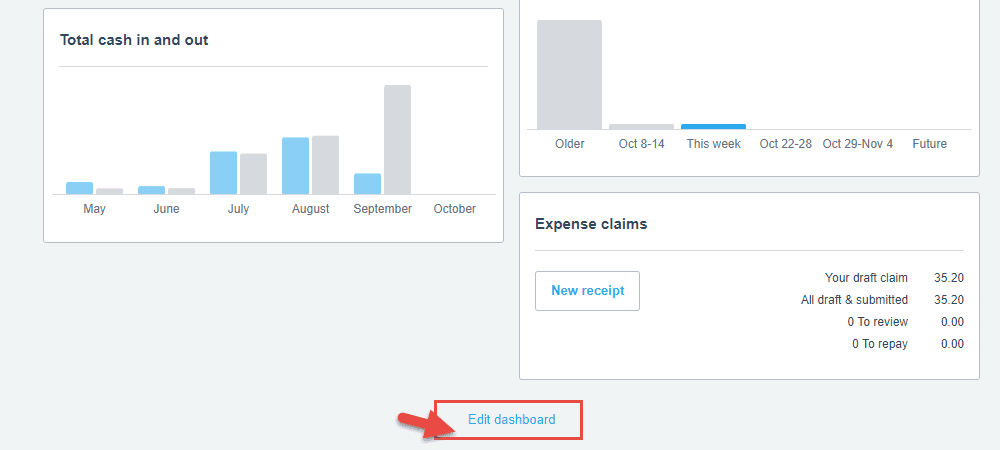
2. Click on “Edit dashboard” at the bottom of the page.
3. Move elements within the dashboard.
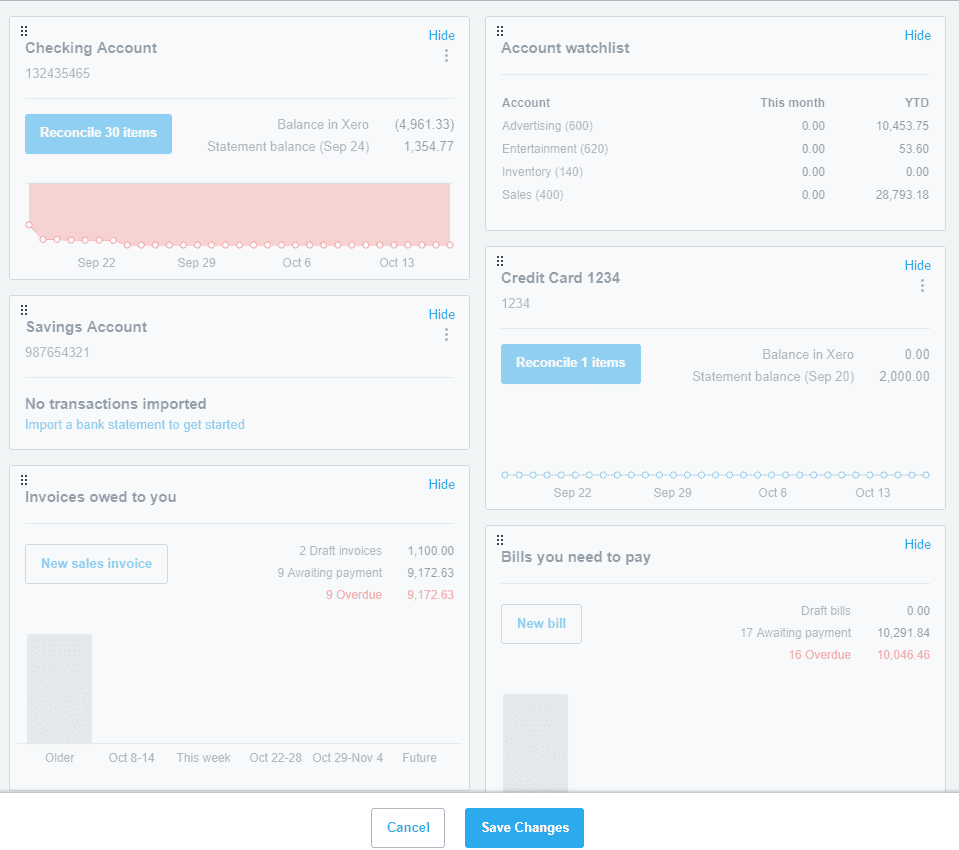
Now the page will turn gray and you are able to move things around how you like them. You can also hide accounts and lists from showing on your dashboard by clicking Hide. Be sure to click Save Changes when you are done.
4. Enjoy your personalized dashboard!
Of course, there is no right or wrong way to customize your dashboard. Some users like to have all the information at their disposal. Some like to eliminate sections of the dashboard that are unused or not used often.
Here is an example of one layout we suggest to clients:
- Show the Invoices owed to you and all Bank Accounts on the left side of the dashboard.
- Show the Account watchlist, Bills you need to pay, and all credit card accounts on the right side of the dashboard.
How you organize your dashboard is completely up to you. So feel free to have fun with your dashboard and make it work for you!
Looking for another article on how to customize your Xero experience? Check out this other article on making Xero yours!