

In any accounting software system, the list of account categories is commonly called the Chart of Accounts. This list helps categorize the assets, liabilities, equity, income, and expenses of your business. Occasionally, you may find that you need to add a new account to your Chart of Accounts. In Xero, creating new accounts can be done very easily.
How it works
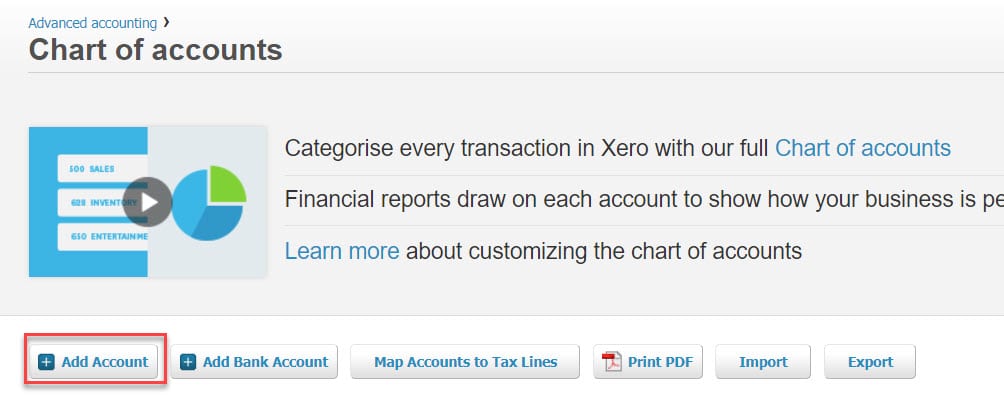
From the Dashboard, you can navigate to your Chart of Accounts by clicking on the Accounting menu and then selecting Chart of Accounts.
Next, click on Add Account.
The Add New Account window will appear as shown below. When creating a new account in Xero, there are a couple of fields that need to be completed.
First, you must choose the Account Type. On the right of the window, you will see that Xero provides a very helpful breakdown of how account types affect your Profit & Loss and Balance Sheet.
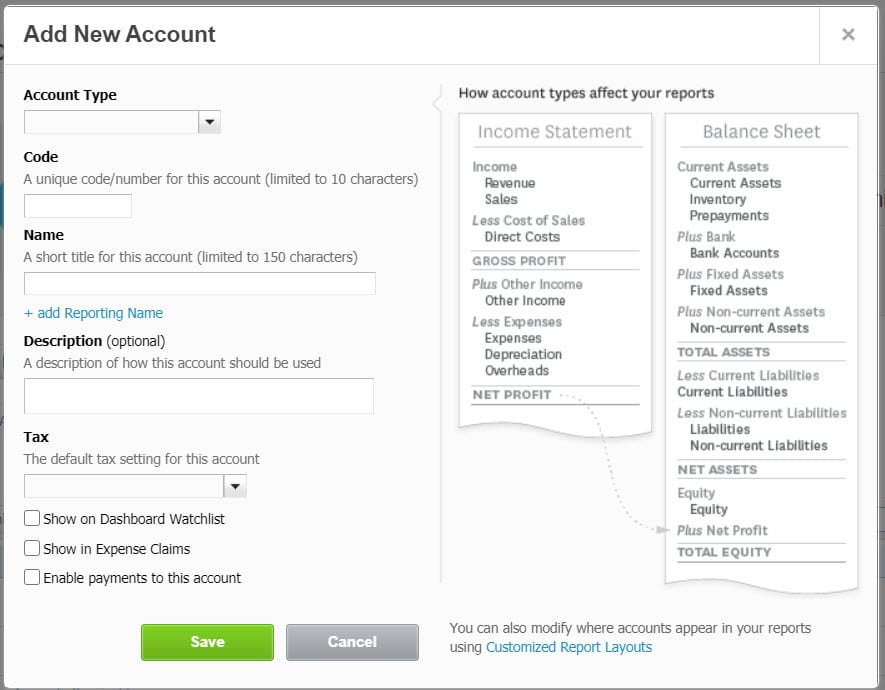
Each account you add will need a unique code and a name. If the code you enter is not already being used by another account, a green box will appear letting you know that it is available. If the code is already in use, you will see a red box saying that the code is not available.
Next, enter the name of the account. The name should be a short title limited to 150 characters.
If this is an account that you would like to keep an eye on, then at the bottom of the screen check the box for Show on Dashboard Watchlist. Also at the bottom you can choose to Show in Expense Claims and Enable payment to this account.
When you have completed all the settings for your new account, click Save.
Having an organized Chart of Accounts is key to keeping your books clean and manageable. If your Chart of Accounts needs work, contact us to learn how we can help!
Updated 8/31/2020