Entering transactions in your accounting system regularly is important, but what if you want to attach supporting documentation to your purchases? Xero gives users the ability to attach documents to bills. When a document is attached to the bill, it can be referenced with a single click. Let’s see how.
How it works
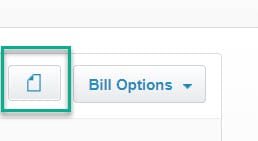
First, navigate to the bill you wish to add your attachment to, then click on the file icon next to Bill Options.
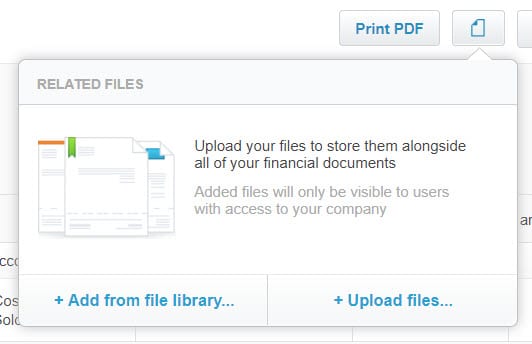
Xero gives you two options for uploading documents. You can upload files already saved on your computer or mobile device. You can also upload documents previously uploaded to Xero from Files. In this example, we are going to select +Upload files.

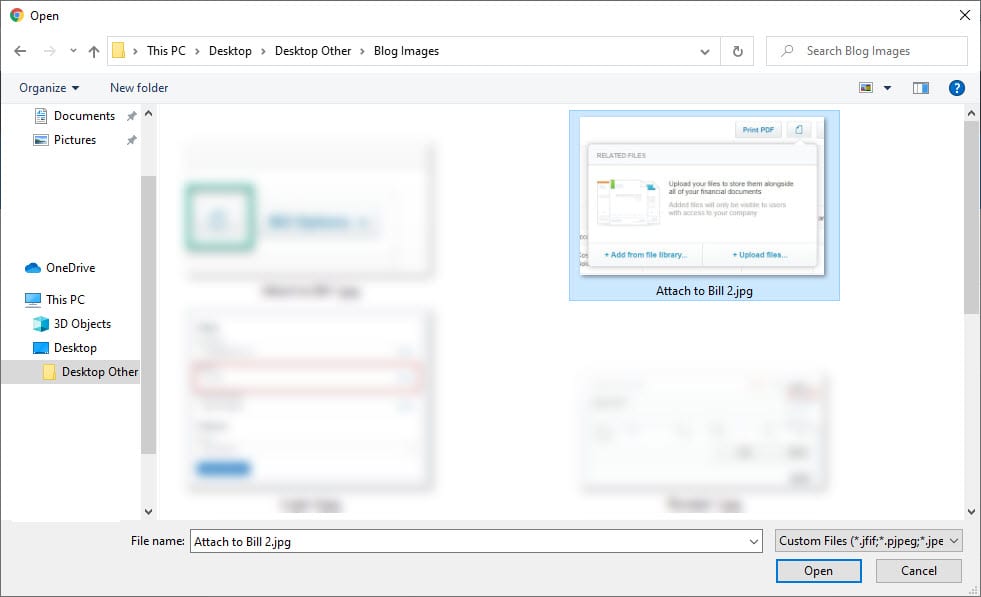
A window to the files on your computer will open. Simply point to where you saved the document that you are trying to attach. Click Open.

After the document is attached, a number will appear next to the file icon indicating how many documents are attached to the bill. If you need to refer back to the documentation on this bill, select the file icon on the transactions to view your attachments. Clicking on the attachment will bring up a small view window where you can view it. You can also download your attachment to save it to a different location if needed.

With the ability to attach documents to bills, Xero helps you not only keep track of your financial activity but also the source documents that drive your business. To learn more about how to maximize the features in Xero to improve your accounting, contact us to get started.


