
We have a great tip for you today – how to attach a W-9 Form received from your vendors to a Contact in Xero. Why is this a good idea? Well, you will thank us later when it’s 1099 time and you have all your paperwork in order.
We think it is a “best practice” to ask for a Form W-9 at the start of doing business with a vendor. We recommend to our clients to verify receipt of the Form W-9 prior to the first payment to a new vendor. This has worked out well for our clients. You can get a Form W-9 on the IRS website. Once you have the completed Form W-9 you can attach it right to the contact in Xero.
Here is how to attach the Form W-9:
Step 1. In Xero, go to Contacts>All Contacts. Either find the existing contact or click Add contact to create a new contact in Xero.
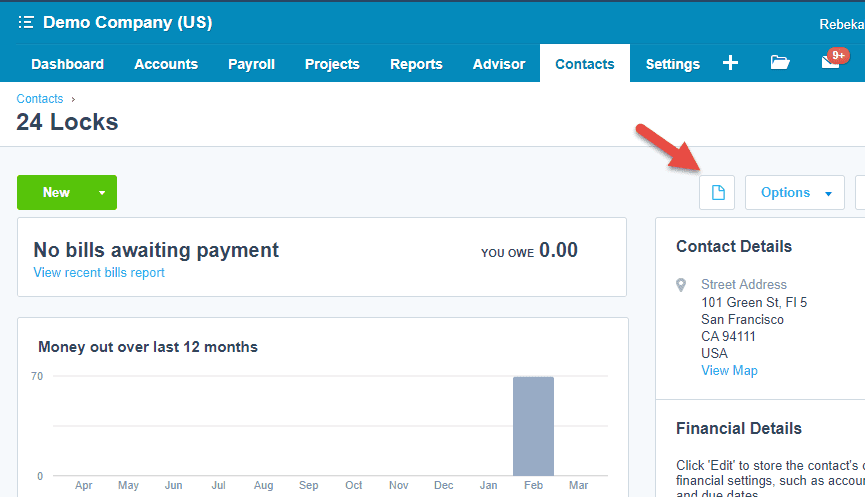
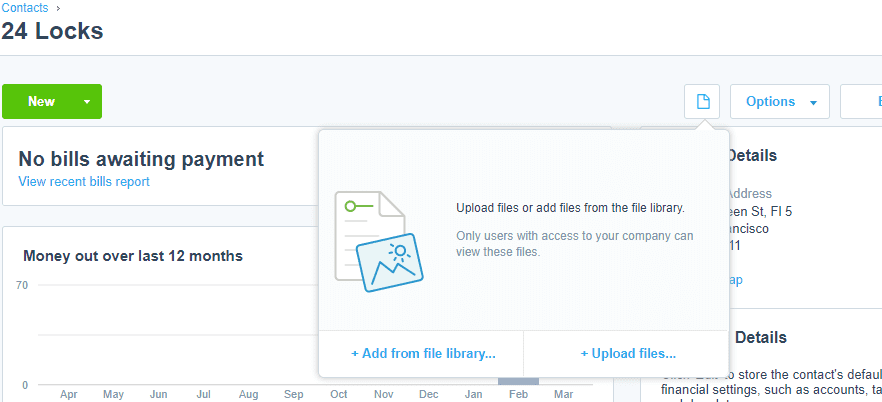
Step 2. Click on the files icon , select Upload files, then browse and attach the W-9.
Congratulations your Form W-9 is added to your contact! We can guarantee you will be happy you did this next time you are preparing 1099s.
We hope you enjoyed this Xero tip. Feel free to contact us for more information or to sign up for our newsletter.